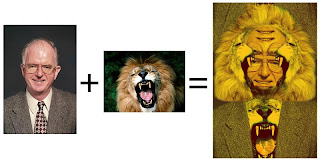
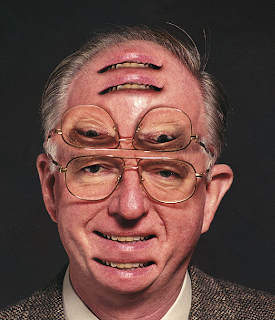
For the following quick tutorial we will combine the image of a man and the image of a lion to create a hybrid construction that utilizes the most interesting elements of each image. See below.
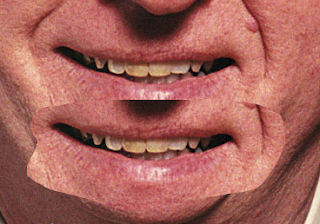
First I made selections around the man's features, copied and pasted them onto a new layer.
Then I created a layer mask by targeting the layer I wanted to apply the mask to and click the "add layer mask" icon in the bottom of the layers palette. Once you click this button you will notice a layer mask has been added to your layer.
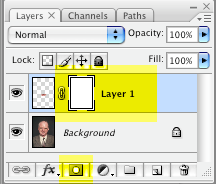
Using the brush tool you can paint into this layer mask with white or black paint to reveal or hide pixels respectively. Make sure you are on the layer mask and not on the layer itself when you are using the white and black paint. The double border around any layers thumbnail will ensure you are indeed on this layer. I used a soft brush and painted with black paint to hide the hard outer edge of the pasted layer.
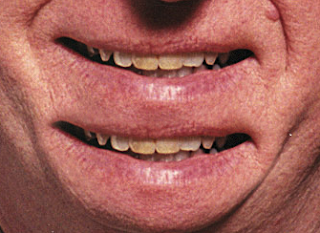
I continued this process with the man's features until I came to an interesting combination. Remember that altering your brush size (bracket keys on the keyboard) and brush hardness will help manipulate the image.
Next I made a selection around half of my lion's face and dragged it into Photoshop. I duplicated the layer (CMND +J) and flipped it horizontally (EDIT > TRANSFORM > FLIP HORIZONTAL). I proceeded to use layer masks on these new layers to create a sort of mask around the head of the man.
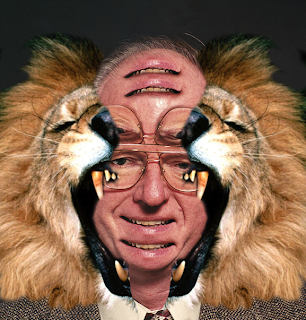
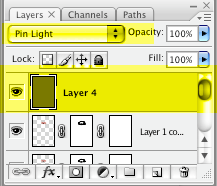
I continued to drag selections over from the lion image and work with layer masks in this way until the desired effect was achieved. The finishing touch was to create a new layer (CMND + SHFT + N) above all of the other layers in my layers palette and fill it with a warm color. Then I changed the blending mode for that layer to Pin Light.
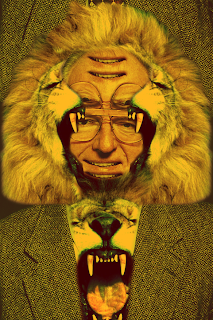
Below is the final version:
No comments:
Post a Comment